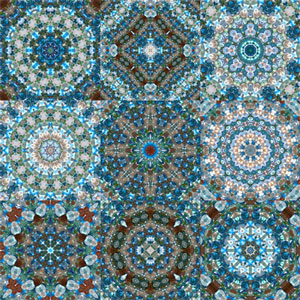
Precious and fanciful!
Date Added: 03/09/2014 Ciao a tutte
Maybe for the memories of the unforgettable days spent with Nora Corbett - who’s always using so many beads in her wonderful patterns - are still echoing so strong… Maybe because (finally!) the first days of sunshine light up everything around us, making colors brighter and brighter... Well, we’ve often been thinking of beads and their thousands uses, lately.
Available in a lot of sizes and colors, this little - minuscule sometimes - wonders, rigorously made of glass, were born as a necessary elements for crafting jewels, though they’re used as much in needlework. Even as kits. In this case, the result can be used as a decoration basis for crafting other things: customized boxes, little home decorations, as well as small ornaments for our bags, hats, brooches and various accessories and, of course, even as little pictures to hang on our walls!
However, we’re often asked: “how are beads supposed to be applied with needle and thread, on our needlework projects?”. It can seem hard, actually… However, it isn’t at all, if you follow some simple directions

First of all, beads must be applied always at the end of stitching the whole project. Then, there are two "schools of thought": the first one states beads should be stitched using one ply of the same stranded cotton used for the surrounding cross stitches. This solution, however, can give some problems, most if beads are of light colors, because, being made of glass, they can be transparent and the color of the thread can somehow interfere with that of the beads themselves.
Similarly, by using one ply of stranded cotton of a color alike that of the beads we’re stitching, the final color of the beads may result less crystal clear and bright.
That’s why, the "school of thought" we prefer is the second one, suggesting the employ of an invisibile thread to fix exactly as a common stitching floss and then come out with our needle from the little hole down left, right where we want to stitch our bead, thread the bead into the needle and attaching it by going down into the fabric, up right, just as we were stitching a normal cross stitch. At that point, the bead will be already placed in the right position, but to fix it even faster, we’ll have to pass the needle through it again, with our invisible thread, just as if we were completing the second part of our cross stitch: in short, we’ll get an invisible cross stitch, with our bead fastened right in the middle!
Needles, also, play a crucial role, when stitching with beads, because to fix the you must use special short needles that are extremely thin, thus the only ones easily passing through the tiny glass beads used for embroidery applications

To be continued…

Hear from us soon!
Replies View ...

© Cenina S.r.l.
VAT : IT01651310516 - R.E.A. 128424
Fax: +39-0575-033115 - Tel: +39-0575-421407
E-Mail: [email protected]
VAT : IT01651310516 - R.E.A. 128424
Fax: +39-0575-033115 - Tel: +39-0575-421407
E-Mail: [email protected]

 English
 Français
 Español
 Italiano