
 English
 Français
 Español
 Italiano
Biscornu
Date Added: 08/05/2008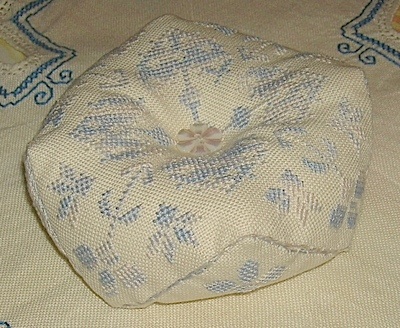 Hello everybody! :)
It's a long time that cruising around the cross-stitching websites we run into the "biscornu", with new charts, groups of girls who realise and exchange them ... But what is biscornu and how do you make it?
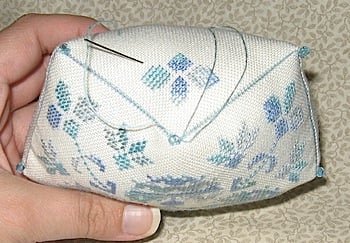
Both answers are simple: even if it seems at the beginning something mysterious, it is actually a pin-cushion, which is very esay to create. Two identical squares stitched and sewn together. The trick is finding where the union seam begins :)
But let's procede step by step. Thanks to the precious support of Tiziana of the website https://www.puntiespunti.it we publish a complete lesson with images on how to realise these little jewels.
Have fun!
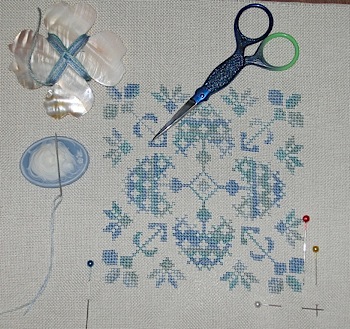
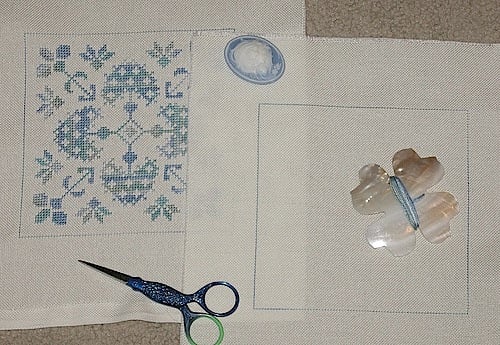
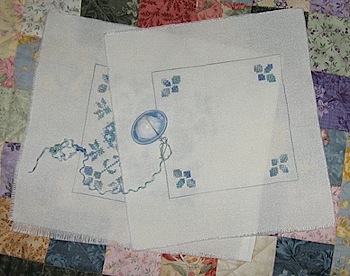
Necessary material: a draft as big as you want the biscornu to be, two pieces of pure linen textile of the same, identical measure, threads for the embroidery, filling, two buttons as you like. The linen is the best choice but you can use any textile you desire (aida, jazlyn, lugana etc)
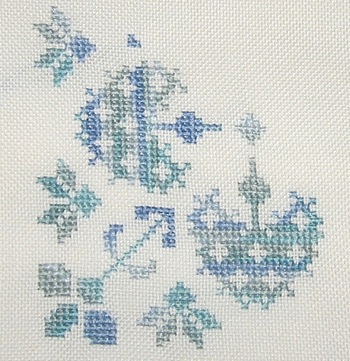
Now you can cross-stitch.
End of the cross-stitching.
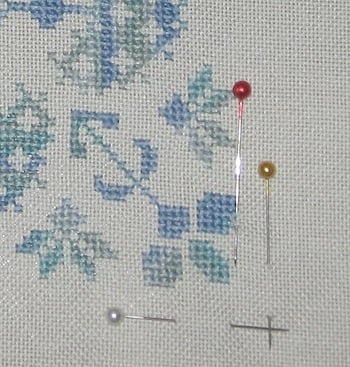
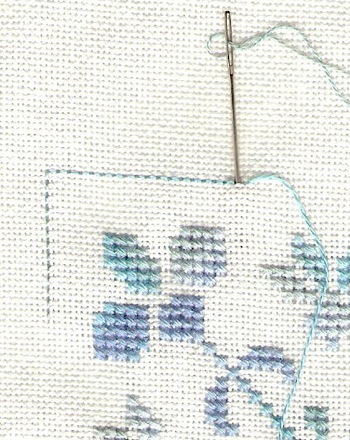
Now decide the distance from the finisched work in order to stitch.
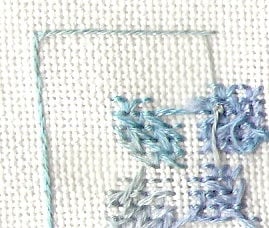
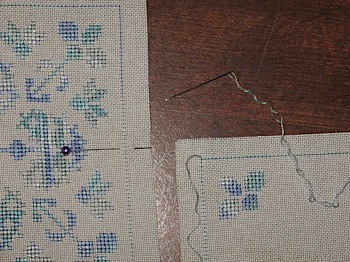
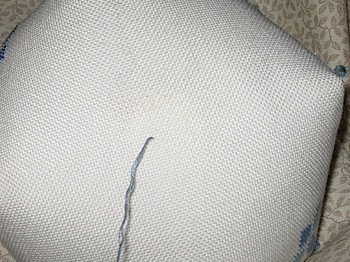
How to stitch. Here it is how it appears on the back. As you can see it 's not the normal stitching, with a point forward and a point backward, but it is like a backward point with only a passage of points.
This is the front of the work. As you can see the result of the point is the same as the other version.
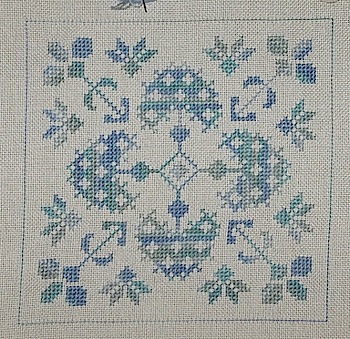
Let's work with the down part of the biscornu.
Finisched down part.
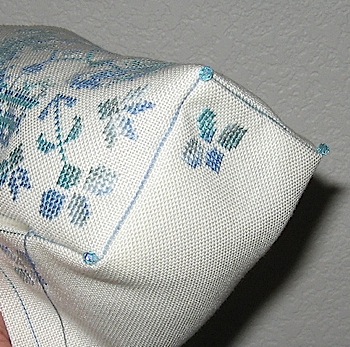
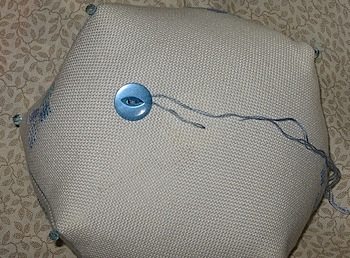
Let's start sewing the pieces to create the Biscornu.
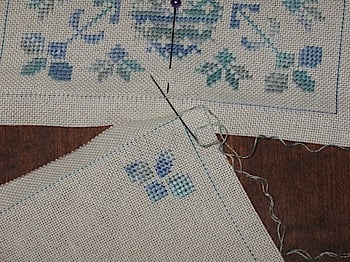
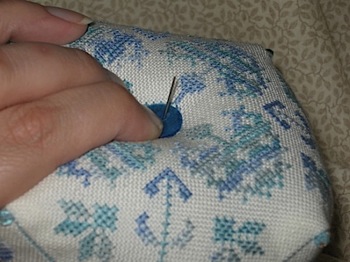
Make the corner of the down piece coincide with the middle of one of the sides of the upper piece and start sewing.
The seam has to be made by taking only the point and not the fabric.
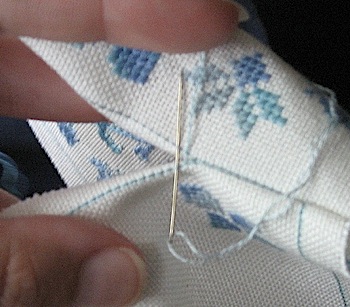
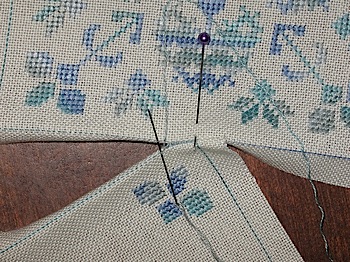
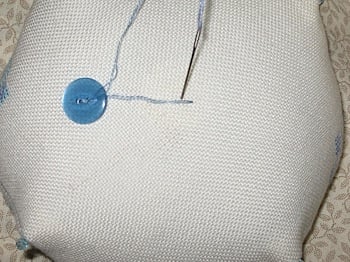
You can see in the image how to make the points.

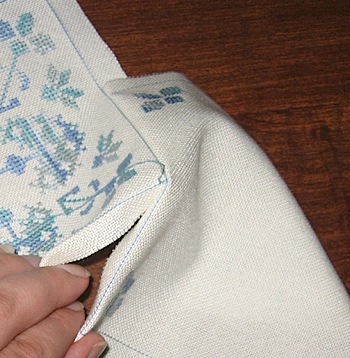
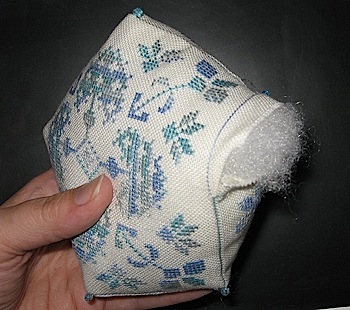
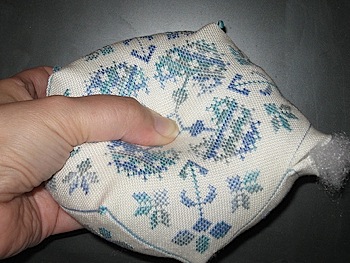
Once at the corner, turn and sew towards the end of the side.
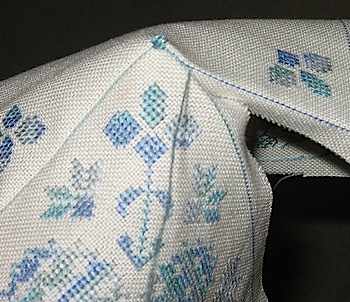
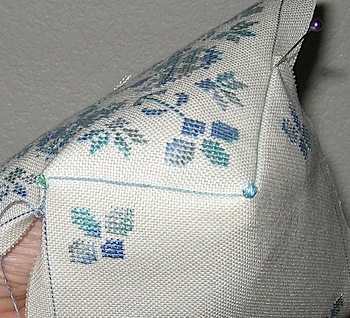

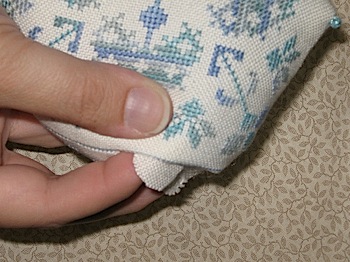
Now follow the images step by step till the end of the creation of the Biscornu.


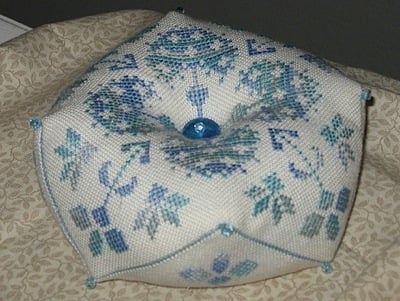
On our website you can find different charts to realise the biscornus, or you can adapt any geometrical design.
Enjoy the work, post the photos of your creations in the section Stitches by... ... We are waiting for you!
Cristina
The images are taken from: https://lhfinishingschool.wordpress.com
Replies View ...

© Cenina S.r.l.
VAT : IT01651310516 - R.E.A. 128424
Fax: +39-0575-033115 - Tel: +39-0575-421407
E-Mail: [email protected]
VAT : IT01651310516 - R.E.A. 128424
Fax: +39-0575-033115 - Tel: +39-0575-421407
E-Mail: [email protected]