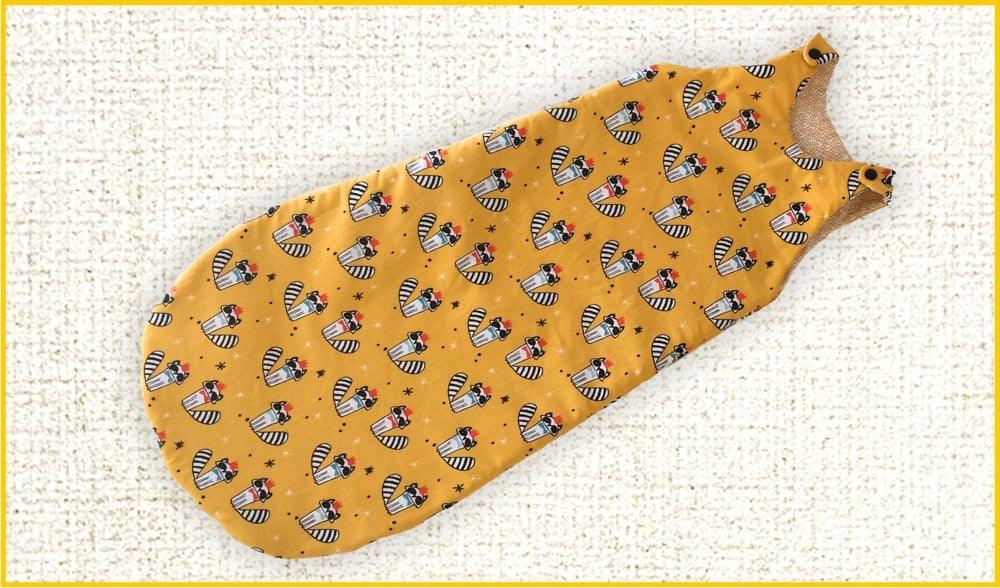
Baby Sleeping Bag Tutorial (0-6 months)

Date Added: 01/29/2019

Here below all the information you'll need to make a fun and colorful “Baby Sleeping bag” That you can customize with your favorite fabrics and colors.

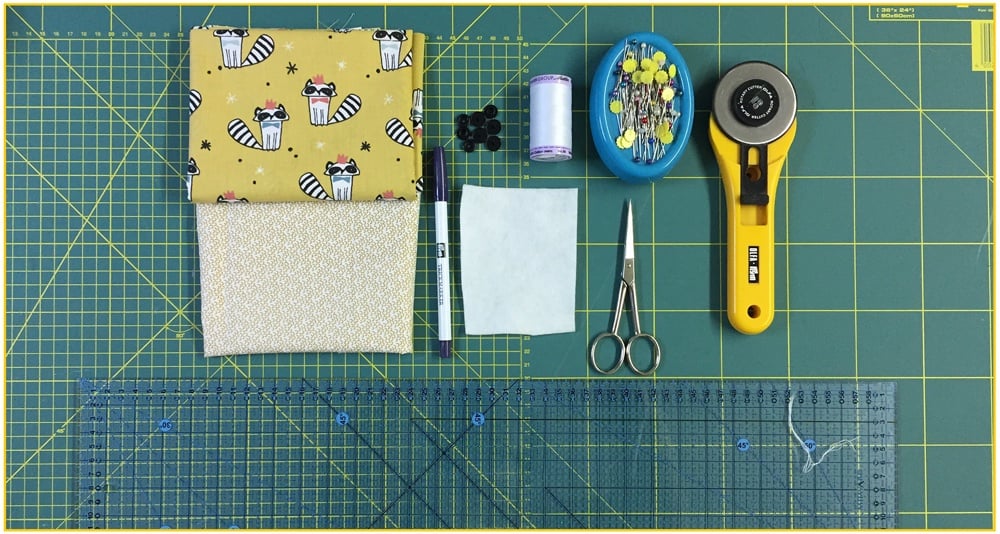
1. Needed Materials:

• Fabric with your favorite prints: 2 rectangular cuts of 45x75 cm
• Printed fabric: 2 rectangular cuts of 45x75 cm
• Thermolan: 2 rectangular cuts of 45x75 cm
• 2 automatic buttons
• Yarn
• Pins

• Scissors
• Cutting mat
• Cutter
• Ruler
• Pattern
• Sewing machine and flatiron

2. How to make it

• After cuttting the patterns, put the dashed parts together, this should give you the two shapes of the sleeping bag (front and back). Bring the right side of the printed fabric on the wrong side.
• Do the same for the back.
• Place the 2 fabrics (righ side on right side) on the thermolan and fix the 3 layers with pins.
• Sew along the drawn line and leave an opening of 8 cm (to turn your work inside out). Do the same fot the other rectangle.
• Cut (be sure to leave a margin of half a centimeter).
• Turn your work inside out and iron the excess fabric. Hand sew the opening.
• Overlie (right side on right side) the two parts and sew the lower part of the sleepling bag (take the fuchsia pins as a reference).
• Turn your work inside out and put the automatic buttons on it.

You can download the complete project with the patterns and other details by clicking here

Bookmark & Share:
Visa - American Express - Mastercard - Sofort Paypal - Postepay - CartaSI
© Cenina S.r.l.
VAT : IT01651310516 - R.E.A. 128424
Fax: +39-0575-033115 - Tel: +39-0575-421407
E-Mail: [email protected]